Heated Bed Problem
Not heating
1. Power off the printer and disconnect the AC power cord and USB;
2. Turn the printer sideway, be careful not to damage the X stepper motor connector (if flipped that side);
3. Unscrew the 6 screws holding the bottom panel;
4. Unplug the bottom fan connected to the main board before removing the bottom panel;
5. Connect power and power on the printer (be careful not to touch any electronics in the housing);
6. While the printer still on turned sideway, heat up the bed from touch screen;
7. With a multimeter set to DC mode, check the Heatbed connector on main board for 24V, if no power, it means the mosfet to the port could be dead, replace main board;
8. If 24V measured in step 7, check for LED on SSR (Solid State Relay), if it doesn’t turn on, it indicates a defective SSR, replace SSR;
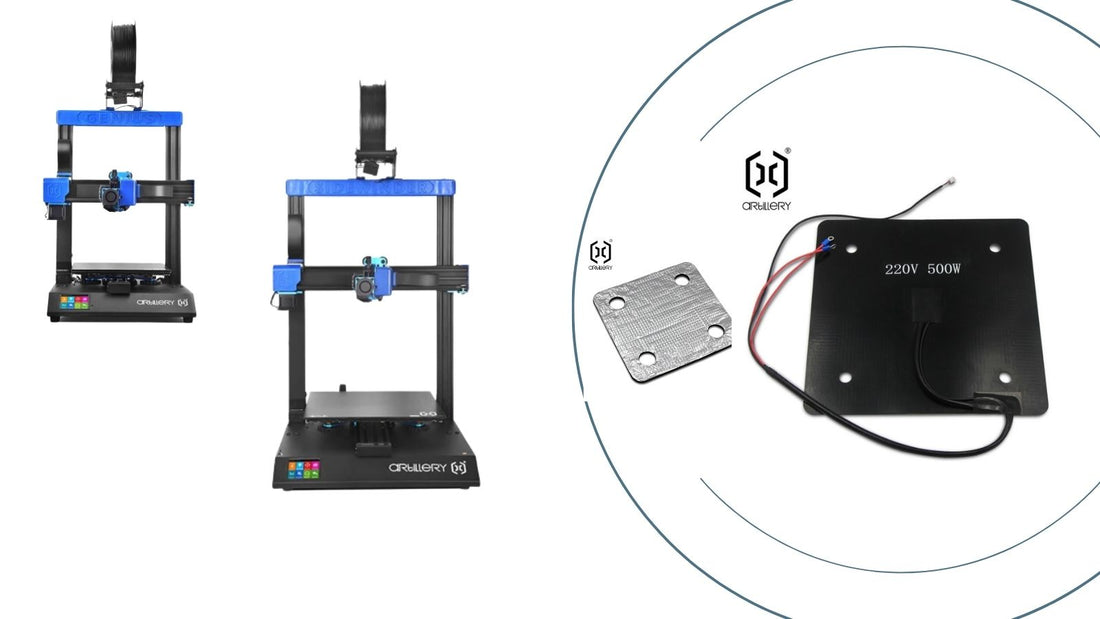
9. If step 7 and 8 checks out fine, check for resistance on heated bed with multimeter, the resistance for 220V is around 96.8Ohms and 110V is around 24.2Ohms, if the resistance is off or cannot measured, it indicates the heating pad is defective, replace the heating pad.
Thermal Runaway ID bed / Mintemp bed
1. Usually caused by heating pad thermistor;
2. Move the bed by hand and notify for temperature changes;
a. If temperature changes while moving, try tug the cable back into the case;
3. Replace heating pad.
My prints are not sticking to the bed
1. Re-level the bed, make sure all 4 corners are around 0.1mm away from the nozzle (a piece of A4 paper thickness)
2. Make sure to heat up the bed and nozzle before adjustment
3. The print bed sticks better with temperature around 10C higher than the bed temperature suggested by the manufacturer.
4. You may clean the surface gently with water when it’s completely cooled down to room temperature. Never clean it with any cleaning products.
Printer halted. Kill
1. Check for problem in FFC connections (see Hotend Problem - Mintemp / Maxtemp Error)
2. Make sure all endstops functioning correctly (see Appendix 4 - Endstops Test)